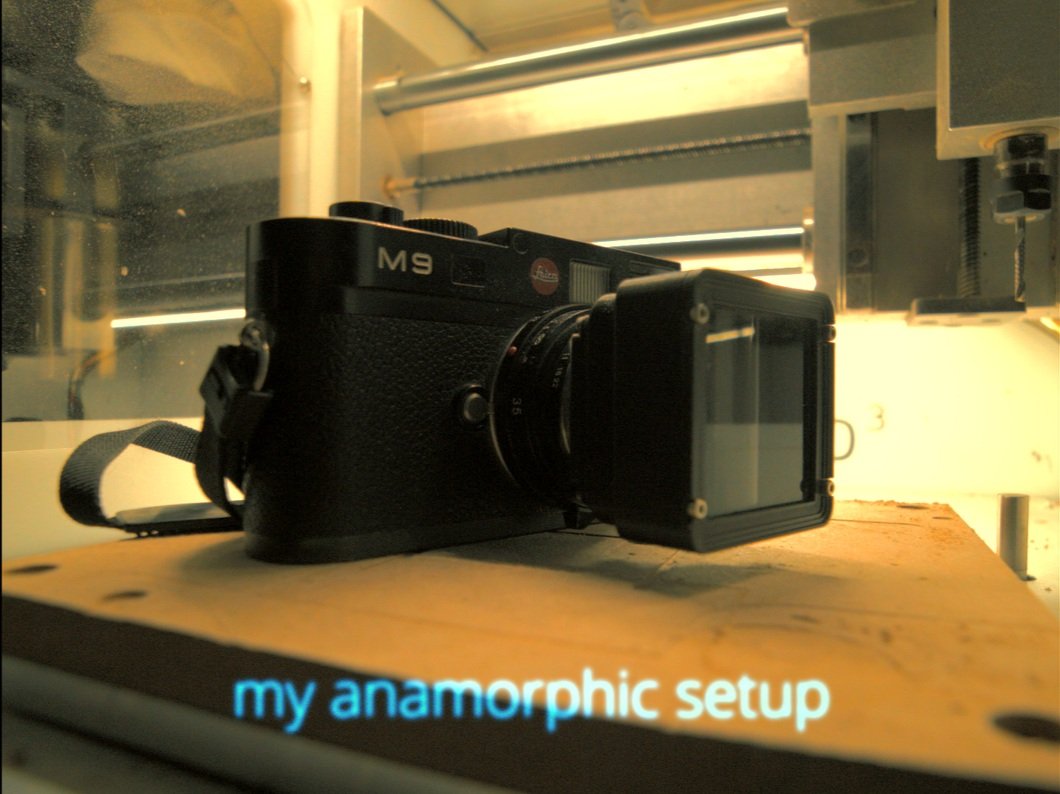
Designing Basic Anamorphics
Ok, so you want to design an anamorphic adapter how would we do it? lets get to it. First you need to understand that an anamorphic adapter is a just a unidirectional wide angle adapter.
I guess this is as good of a place as any to talk about how the terminology used to talk about anamorphics might make them a bit confusing. Anamorphic are often referred by their squeeze ratio, like 1.33, 1.5, 2 and all the inbetween flavors, talking about the effect we see on the film plane or sensor, squeezing in more horizontal information. But if we were to be consistent with terminology, I think we should probably refer to them by the inverse of that, as 0.75, 0.66 and 0.5, just like we do with wide angle adapters, since they have basically identical construction principles. I think really this weird convention has just come about naturally, with how people talk about the resulting image, but has probably also added to some of the mysticism around anamorphic lenses over the years.
So just like a viewfinder (which is also the same thing as a wide angle adapter), you you’ll need at least two elements, a front, plano concave element, and a rear plano convex one. In practice, you should achromatize these, as in split them up and make them achromatic doublets with two glasses of different indices to correct for chromatic aberration, both Applied Photographic Optics (p408) and The Cine Lens Manual (p278) mention this, but we’re going to ignore it, because we’re trying to learn, not to be perfect. And also I only have one type of material with one index of refraction.

non achromatised

achromatised
m = f1/f2
d = f1 + f2
This setup is basically a reverse Galilean telescope, so we can follow this formula, that says that the magnification ( or the inverse of the squeeze ) is a ratio of the focal length of the front lens divided by the rear one. The magnification is basically how much the light beam expands or compresses. There’s one more thing to take into consideration though, the distance between these lenses. In theory the formula is f1+f2, so the spacing between the elements is the sum of their focal lengths. the bigger the difference between the focal lengths the more distance they need, making for a more impractical setup.

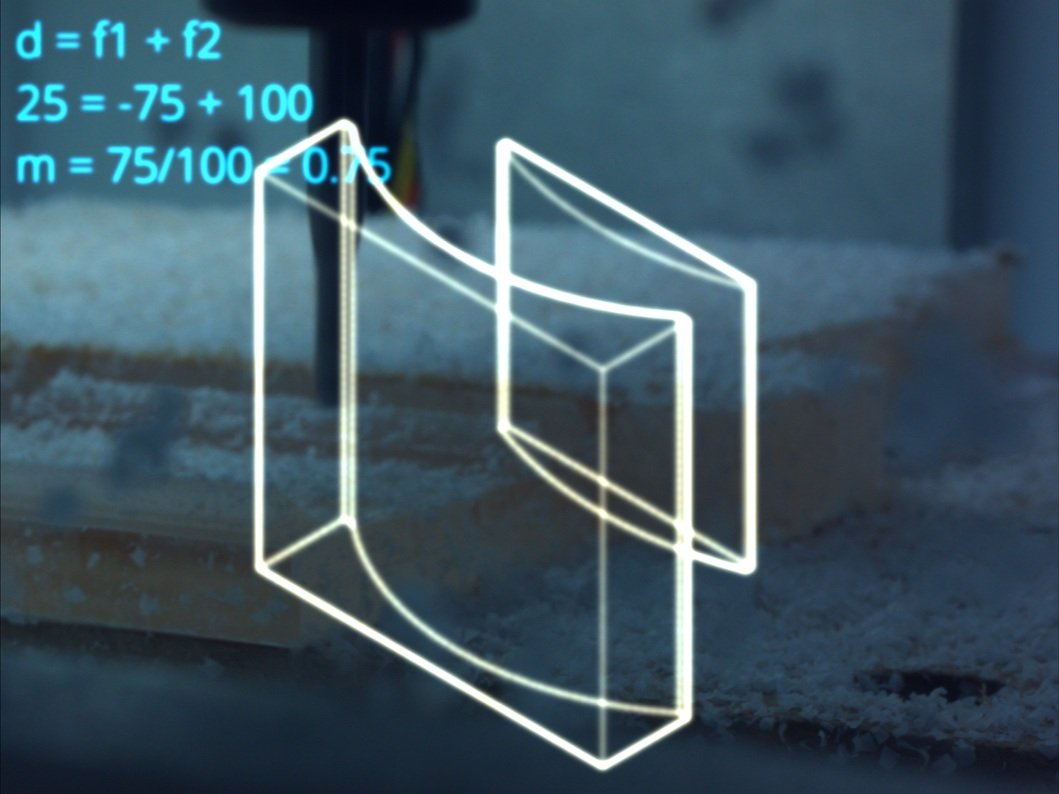
For this project I decided I wanted a squeeze of 1.33, which is actually 0.75 magnification, so I decided on -75 and 100mm as my lenses, so a distance of 25mm, this approximation is usually fine for a viewfinder, but when taking pictures through it, you’ll want to adjust it more precisely.
On the internet you’ll often hear people talking about anamorphic adapters with dual focus solutions, using synchro focus to couple them, or variable diopters to focus both. If you followed along with the start all of this might seem confusing, and rightly so. If anamorphics are essentially the same thing as a wide angle adapter, why do they need to be focused separately? Wide angle adapters don’t have dual focus? In fact they’re called afocal systems, they, by definition can not focus. So what is this all about. Well, when we make a unidirectional attachment, it will change the proprieties of the lens in one direction and not the others, as such our lens now has a new focal length horizontally and not vertically and as such, they focus at different rates. The position of the front element controls the adjustment on the anamorphic. Note, you can not focus an anamorphic adapter, it is an afocal system, you adjust it.
To get the exact adjustment value, I don’t know if there is a precise formula, I couldn’t find one in my optics books. So I brute forced it by building a ray tracing script in Grasshopper and that way I can solve for a given setup. For example this adapter on a 50mm lens, behaves like a 31.3-ish lens If anyone knows a general formula, please let me know.
In the GIF above you can see how moving the front elements brings the two diff focuses together (crossing point of the respective blue and green rays are getting closer to each other). This method also changes the squeeze factor, which is not ideal, this what results in “anamorphic mumps” where there’s less squeeze at closer focusing distances, so if you’re using a constant projection method, you end up with wider faces.
The easier way to make sure focus is aligned is with a variable diopter, since it affects both focal length equally. which is what basically all professional anamorphics do these days.
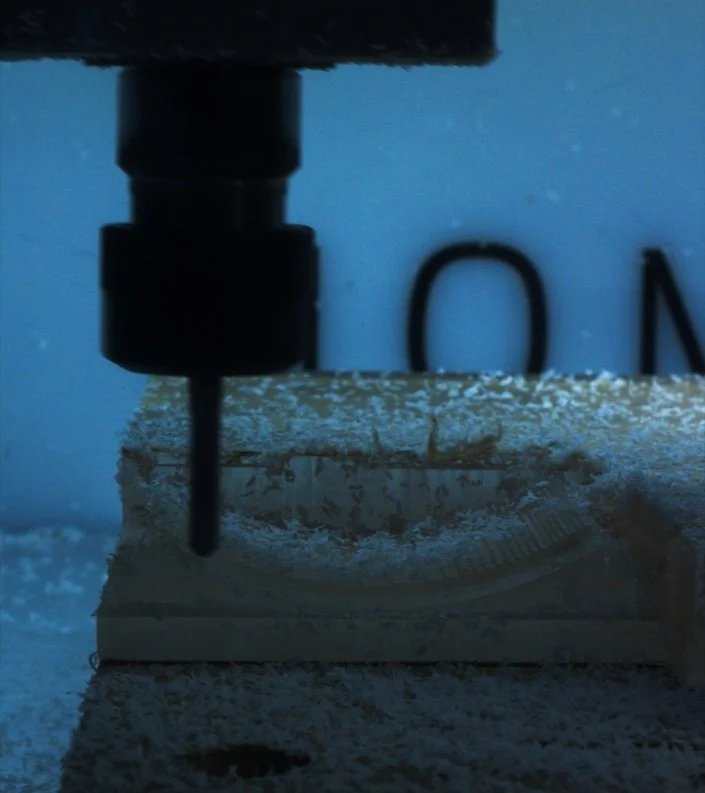
Ok time to make them. I produced mine using acrylic, using a small CNC, and came up with a method to hand polish them, by printing the negative block and attaching sandpaper to them. This leaves a sharp edge and appears to be accurate enough for my purposes.
Results
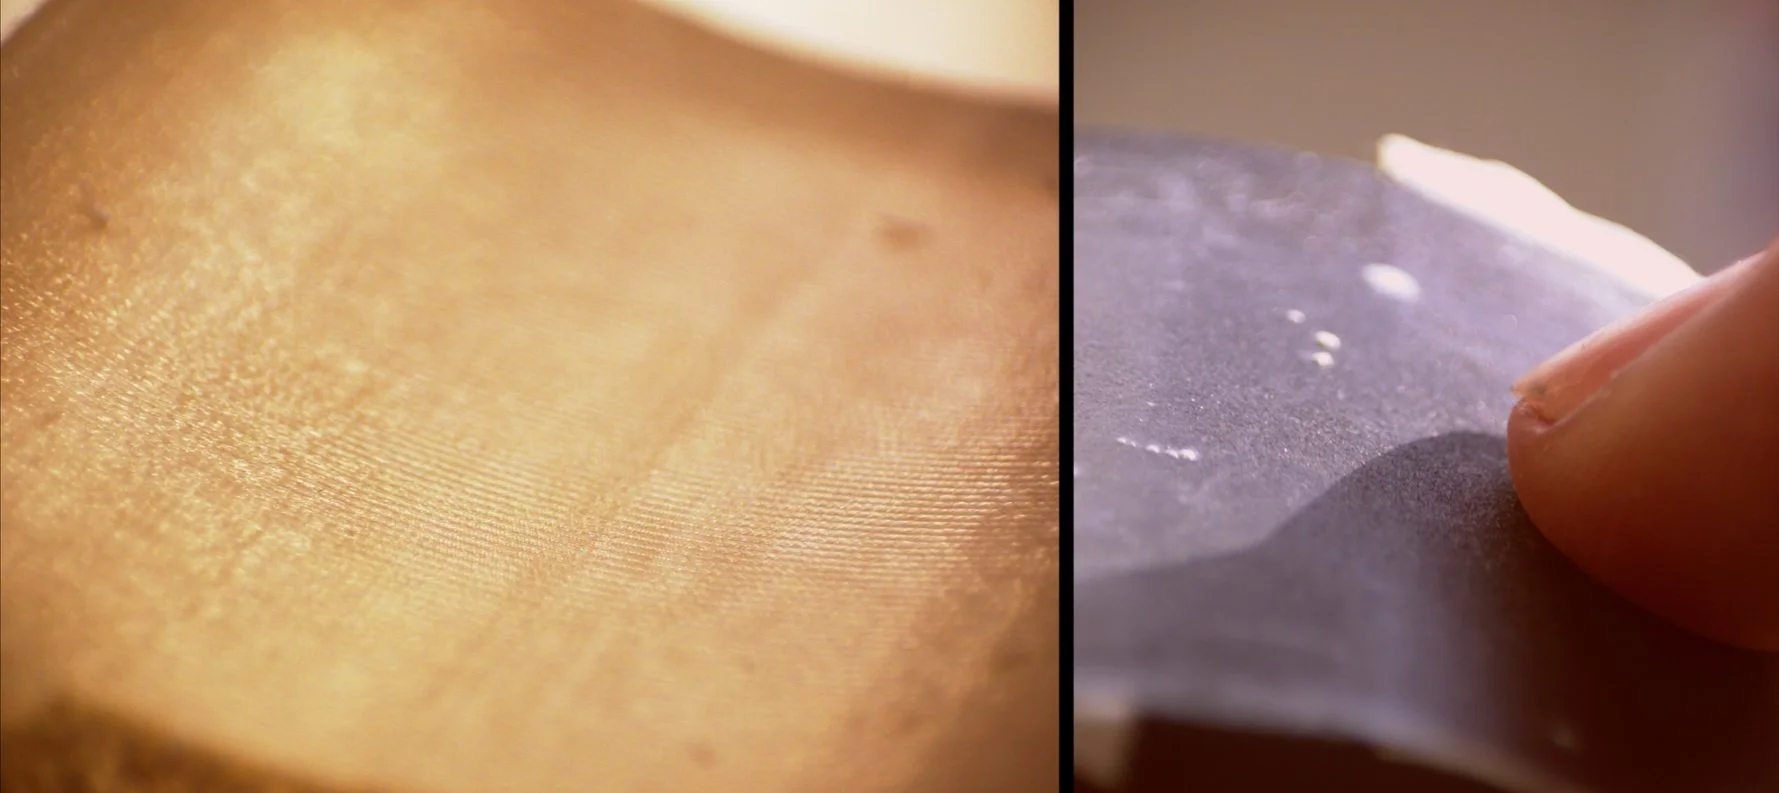
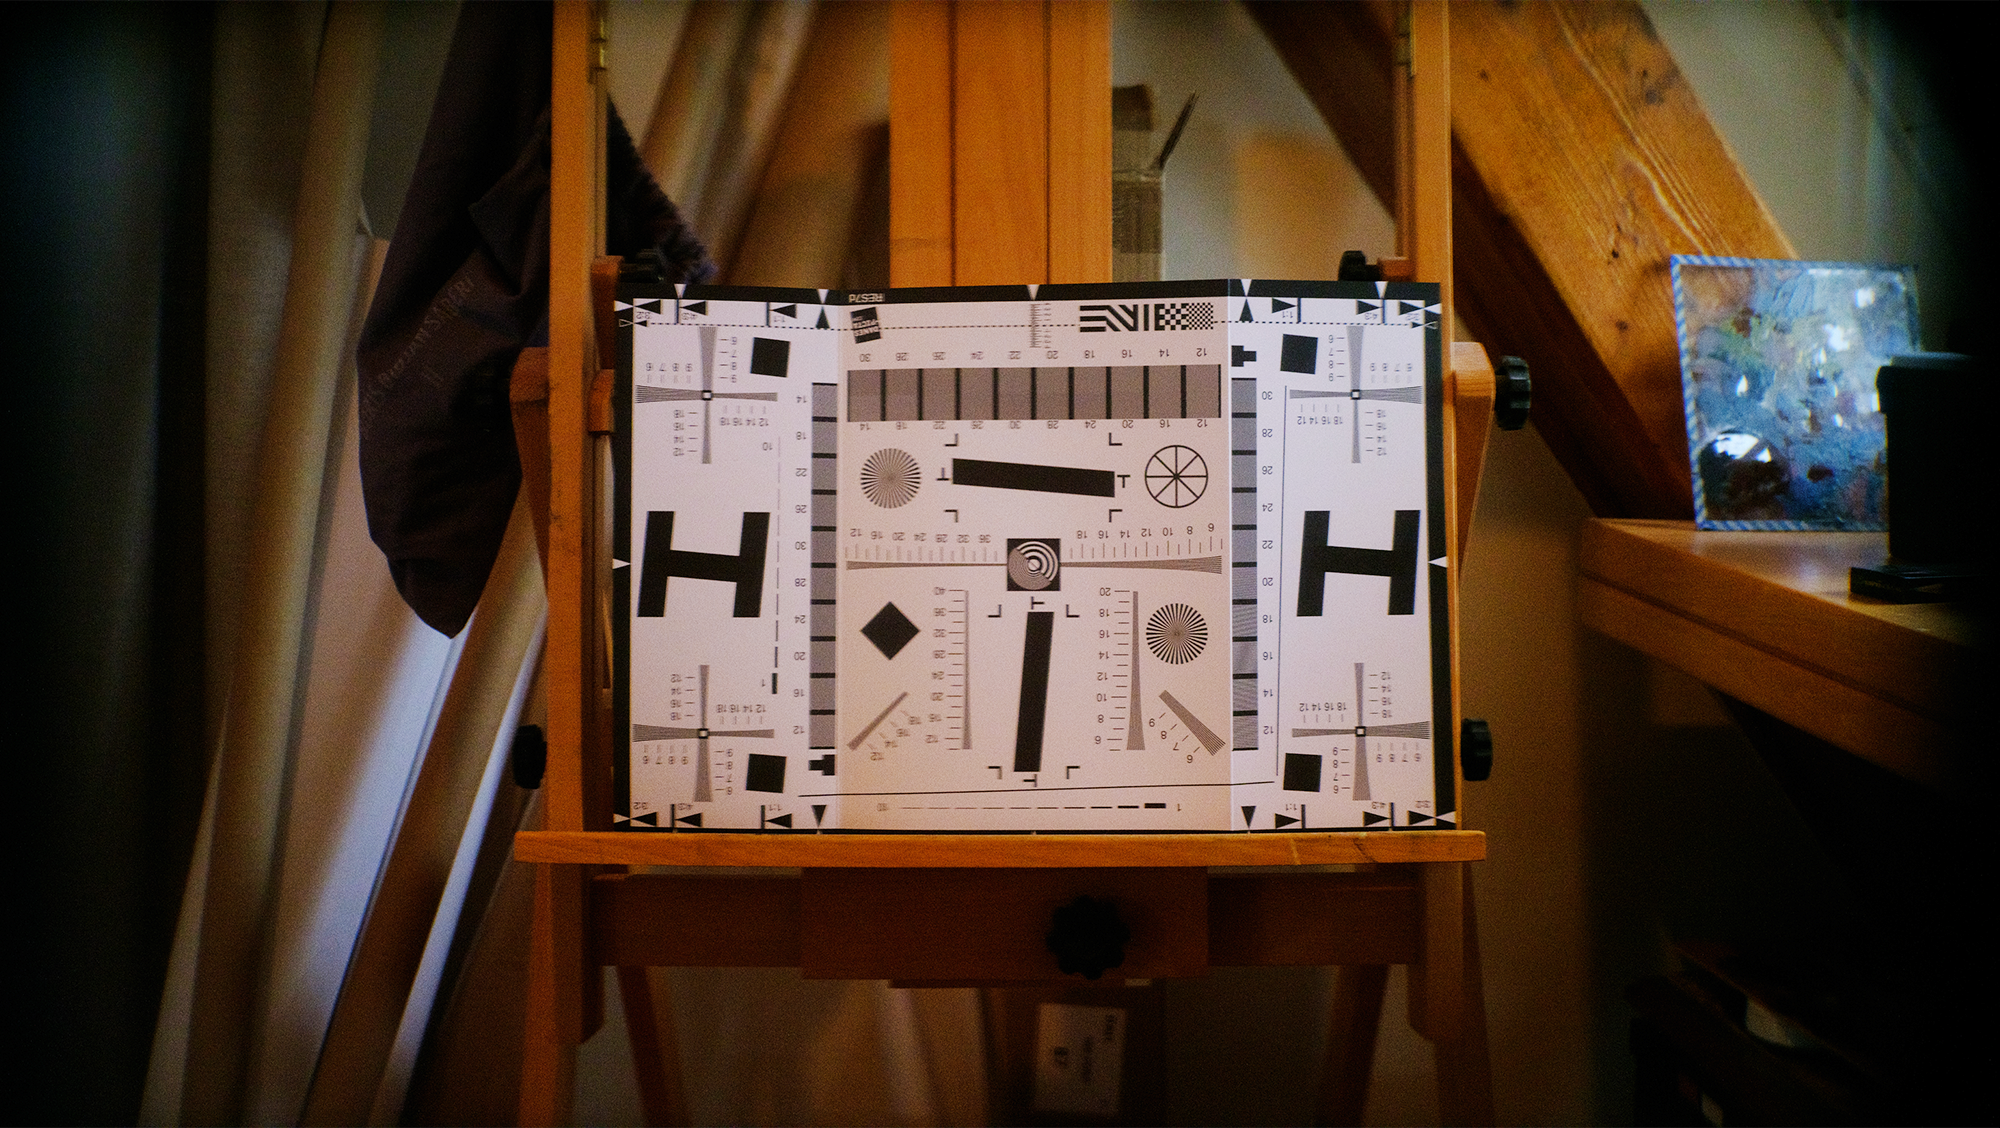
Now. If we have a look through this anamorphic, we’ll see its not very sharp wide open. So how could we fix this? Well, the classic move of stopping down will do most of the job. A lot of the reduction in sharpness is induced by spherical abberation introduced by the adapter. There’s also some extra field curvature, which doesn’t help either, stopping down fixes both of these. Additionally there is the fact that the two focal lengths are now misaligned. Switching to a wider focal length hides this somewhat, and you get slightly better results. Bellow you can see a comparison between f/2 and f/8 on a 50mm Summicron DR taken on fuji GFX ( hence why the corners are very dark).

So what are we going to do? I’m just ignore it, and accept that it’s not going to be super sharp wide open, you trade some things for others, here we want to maximise compactness and ease of use, so we’re simply going with the simplest solution. Now that doesn’t mean we can’t do anything. Even is the terminology is misleading, there is merit to “focusing” an anamorphic adapter, so we’re simply going to set it to one distance that gives us the best overall sharpness, now what is that distance? Well that depends on your use case. I decided I was most likely to shoot the lens wide open at about 2m, and the rest I would probably stop down. If you’re comfortable with Grasshopper, you can use this script to determine your perfect focus offset.